Register your Barn Owl HQ Account & Add CameraUpdated 5 months ago
Registering your Barn Owl HQ account is the first step to setting up your monitoring system. Please follow the below steps to begin.
Register your Barn Owl HQ Account
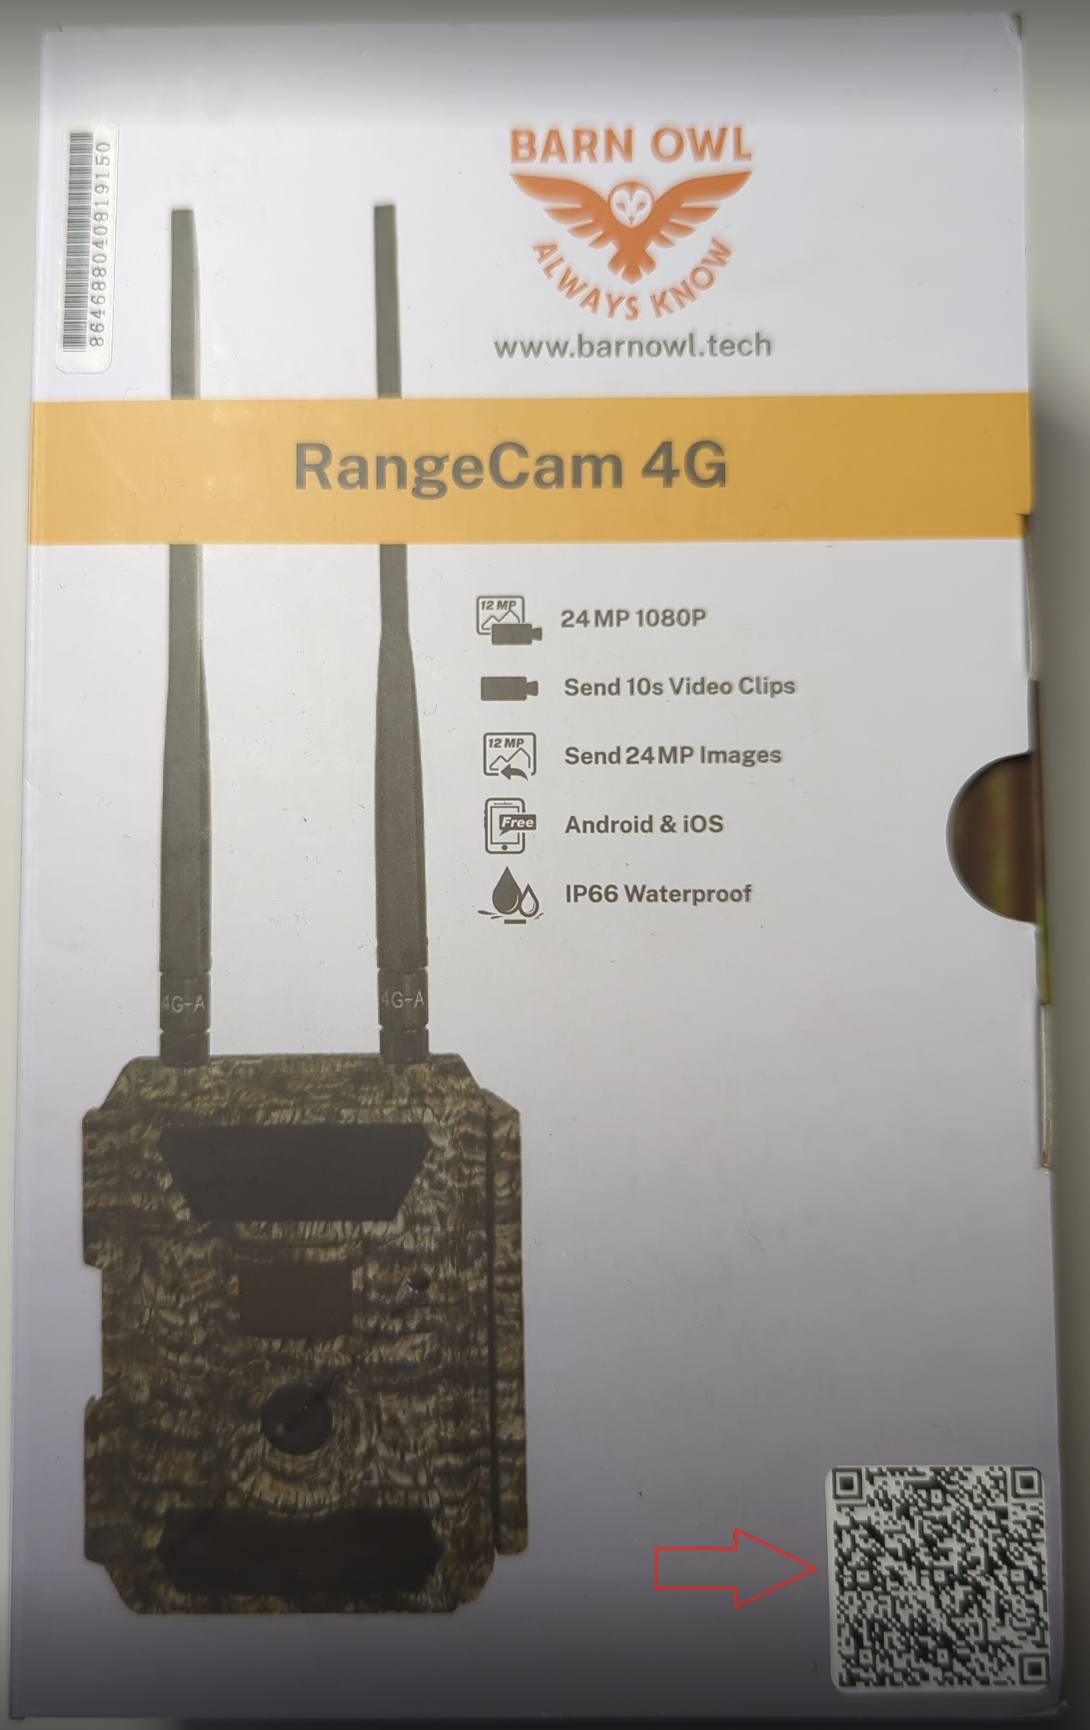
1. Either scan the QR code located on your Setup Instructions or on the camera box, or click the following link and then click "Register": Barn Owl HQ

2. Enter your information and click "Continue."

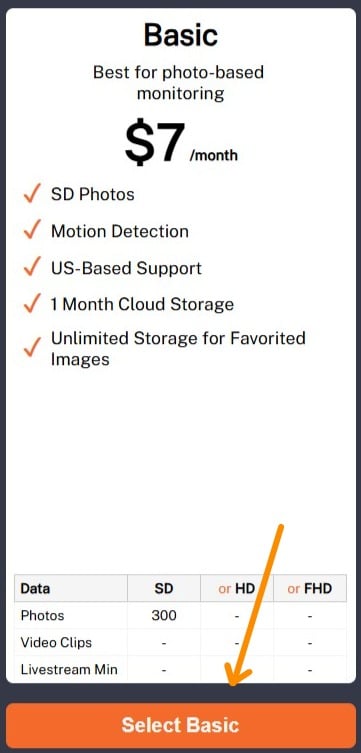
3. Select your billing plan. Barn Owl offers both Monthly and Annual prepaid plans designed to suit your monitoring needs. Here is a link to our latest billing plans and their benefits: Billing Plans
This guide explains the best billing plan for various uses such as monitoring water tanks, keeping an eye on your property, and more: Recommended Camera Settings
Click "Select" beneath your billing plan. In the below example, we chose Basic.
4. The "Review and Upgrade" screen allows you to customize the billing plan, such as adding more data or adding SMS Alerts. Click "Continue" when finished to enter your billing information and review the Terms of Service. Click "Accept and Pay" when finished.
Now you are ready to add your cameras. Barn Owl offers three methods: Automatically add with your Email & Order Number, QR Code, and Manual Registration. We'll begin with the easiest method which uses the registered email address to automatically locate eligible cameras.
Email Lookup Method: To register your Barn Owl Camera, follow the steps below.
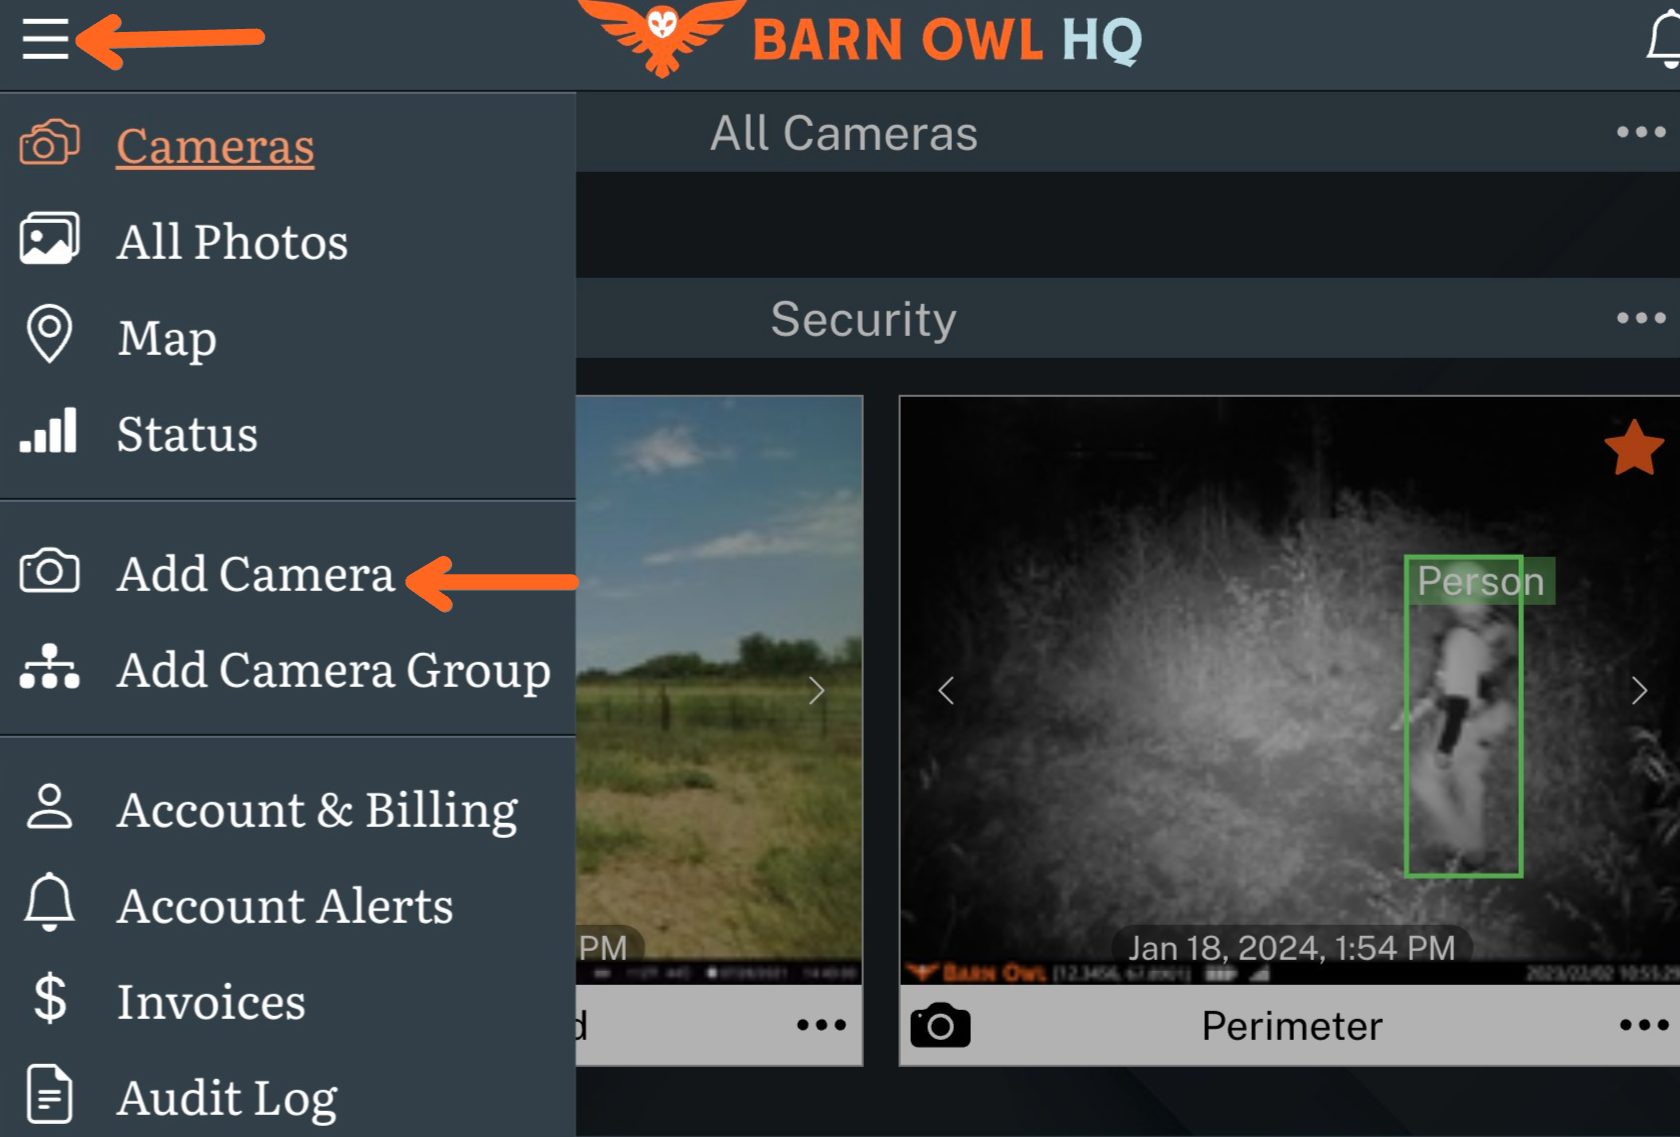
1. Once your Barn Owl HQ account is registered, click on the Main Menu in the upper left corner and then click "Add Camera."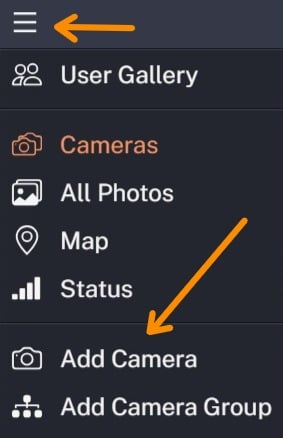
2. If your account email address matches the email address used at checkout, the cameras should be automatically detected. Please click "Click Here" on the Add Camera screen to list the available devices. Note: If no cameras are detected, please move on to the QR Code Method listed below.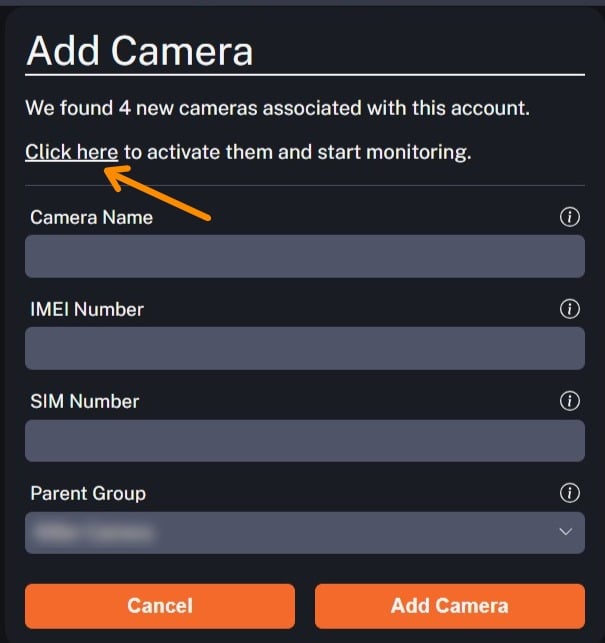
3. Place a checkmark beside each camera you would like to register. This will also activate the camera on your account. Edit the camera name or group, if desired, and click "Activate Now" in the lower right corner of the screen.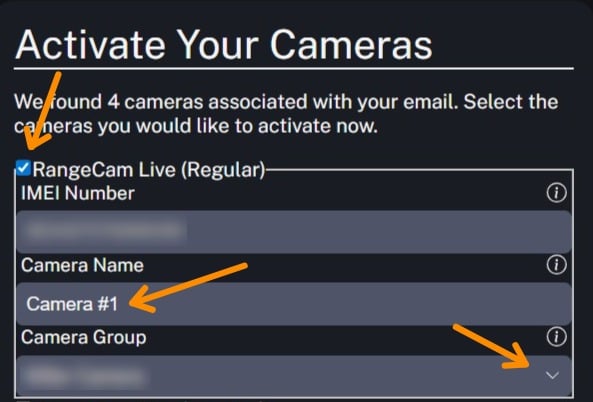
QR Code Method: To register your Barn Owl camera, follow the steps below.
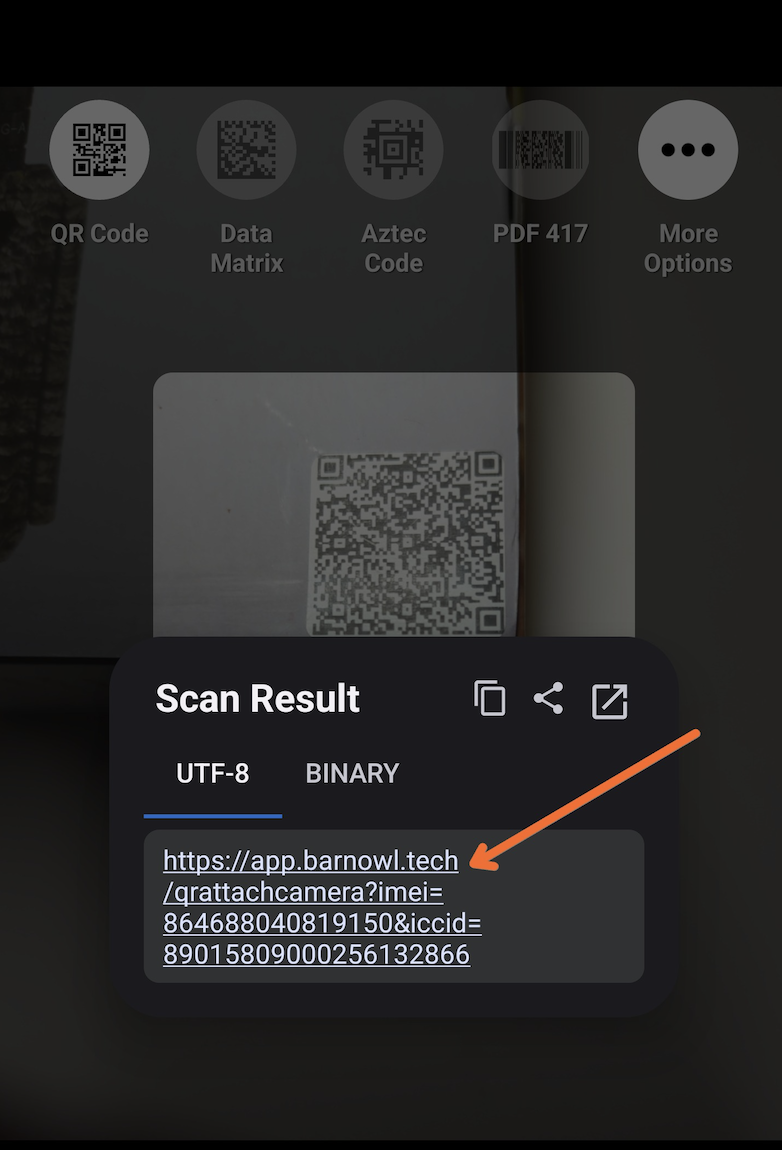
1. Scan the QR code, located on the camera box or camera door, with your smartphone's camera app.
2. Click the link that appears in your camera app. This will start the registration process. Change the camera name is desired and click "Add Camera" to finish.
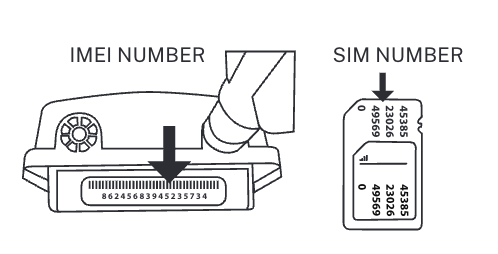
Manual Method: If you run into any issues adding your camera with the Import or QR code methods, you can register and manually add your camera. The registration process will require the IMEI and SIM numbers.
RangeCam Mini and 4P Models: The IMEI number is located on the sticker above the camera display. The SIM number is located on the chip, plugged into the left of the camera display.
ReachCam Models: The IMEI and SIM numbers are located on the camera door.
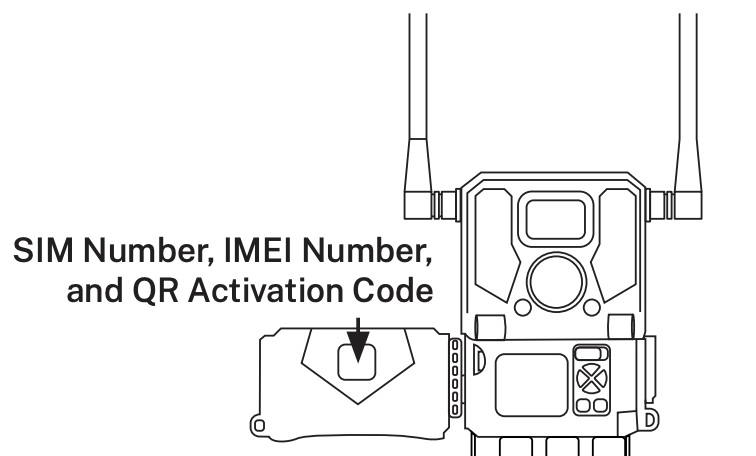
RangeCam2 and RangeCam Live Models: The IMEI is located beneath the QR code sticker on the inside of the camera door. The SIM card number is found on the SIM card itself, which is inserted into a slot on the right side of the status lights.
1. Click the Main Menu button and select "Add Camera."
2. Enter your camera name, IMEI number, and SIM number. Click "add Camera" to finish.

That's it! Your cameras are ready to mount in your preferred location. Now you are ready to configure camera settings. Here is a helpful article to guide you through the next steps: Recommended Camera Settings.