Factory Resetting a CameraUpdated a month ago
If your Barn Owl camera is not sending photos (including On Demand commands) or you need to resolve other operational issues, you may need to perform a reset. Follow the steps below for resetting your camera:
RangeCam and RangeCam Mini Model Cameras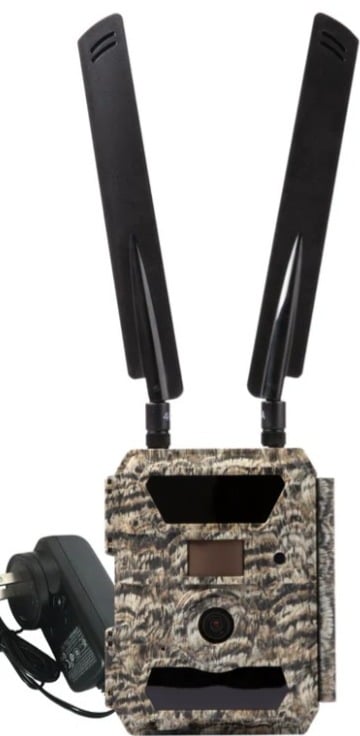
Factory Reset: Put the camera switch in the 'Setup' position and press the menu button while on the 'Searching..' screen. Navigate to the 'Other' tab, then scroll down to the 'Reset' option. Highlight 'Reset' and press OK, then confirm 'Yes'. The camera screen should read 'Completed', then restart.
Format SD Card: Put the camera switch in the 'Setup' position and press the Up Arrow button while on the 'Searching..' screen. Press the 'Menu' button to find the 'Format' option. Highlight 'Format' and press OK, then confirm 'Yes'. It should say 'Completed', then 'No File'.
Test Photo: Switch the camera to Setup Mode, wait for the 'Searching' message to disappear, press the 'OK' button to take a test photo, and then check your app to confirm receipt.
ReachCam Model Cameras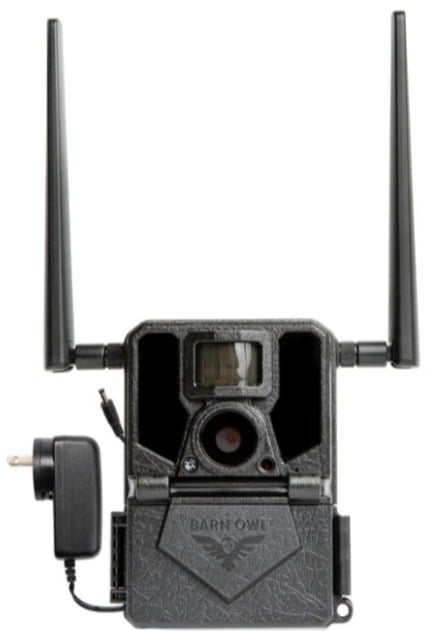
Factory Reset: Put the camera switch in the 'Setup' position. Once the Barn Owl logo disappears, press the M button. Scroll to the left until you see DEFAULT, press the OK. Press the UP ARROW to YES and press the OK button. Note: YES will not be highlighted. The camera should reset and return to the DEFAULT menu option. Press the M button to return to the SETUP screen.
Format SD Card: Place the camera into SETUP mode using the toggle switch. Once the Barn Owl logo disappears, press the M button. Scroll to the left until you see FORMAT, then press OK. Press the UP ARROW to YES and press OK. Note: YES will not be highlighted. The camera should reset and return to the FORMAT menu option. Press the M button to return to the SETUP screen.
Test Photo: Place the camera into SETUP mode and wait until "StatusReport Success" message disappears, then press the LEFT arrow button. "UpdateThumbnail" will appear, and send a test photo to the Barn Owl app.
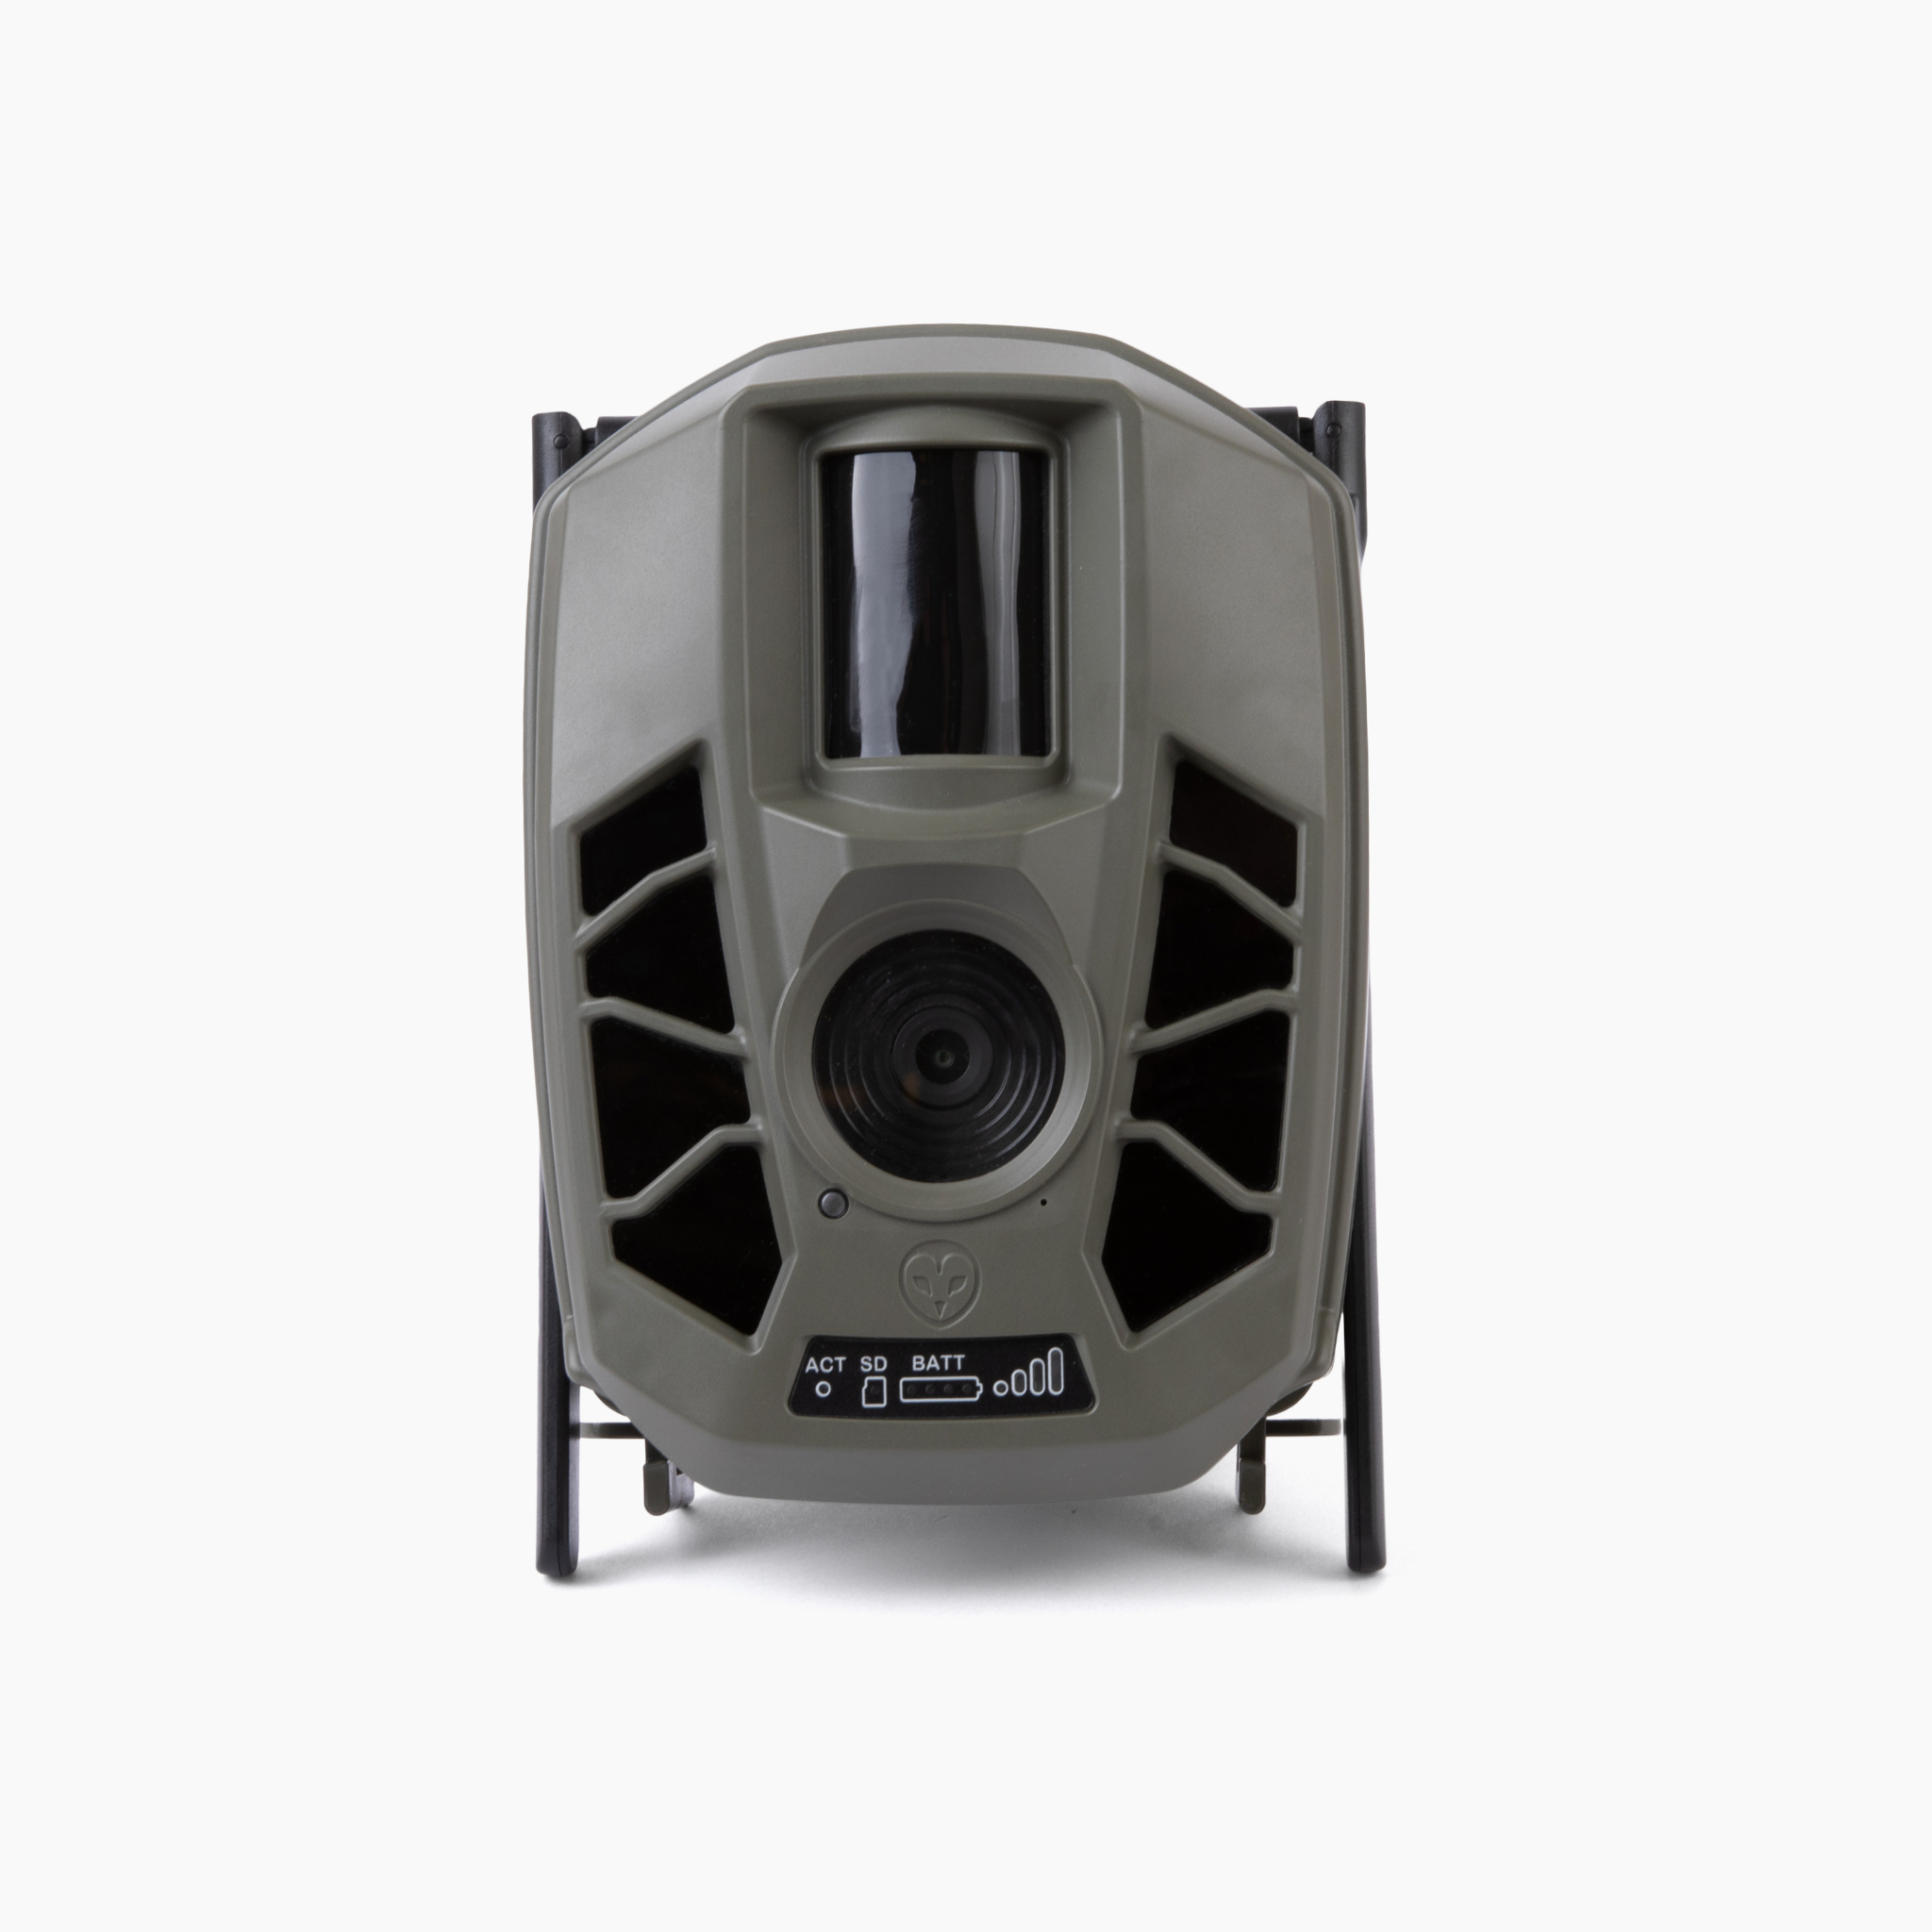
RangeCam 2 and RangeCam Live Model Cameras
Factory Reset: Slide the camera's power switch to the SETUP' position. Locate the reset switch located on the bottom left corner of the camera. Insert a safety pin, pencil tip, or other thin tool into the reset switch hole and hold down for five seconds. The camera's first light will turn cyan, the remaining lights will turn yellow, and your device will reboot. Once the lights are solid green you may proceed with formatting the SD memory card. Please note the signal light may be solid yellow and this is normal.
Format SD Card: While the camera is in SETUP mode, locate the SD format button directly beneath the camera's status lights on the right side. Press and hold for five seconds. The SD light (second from the left side) will flash yellow while formatting is in progress, and will turn green once completed. There is no need to reapply camera settings from the website and you may now proceed with a test photo.
Test Photo: While the camera is in SETUP mode, press and release the Test button located on the right side of the camera's inner panel. The first light, Mode, will flash green while the test photo is being taken and transmit to your online account. Please check your Barn Owl HQ account to view the test photo.
Status Lights: Your camera is ready to operate once the status lights are steady. Ideally the first three lights (Mode, SD, and battery) will be solid green, the fourth light (Signal) will be green or yellow, and the fifth light (Account) is green.
EdgeCam
After completing these steps, remember to update your settings from the web app to the camera as the reset will delete your previous settings.